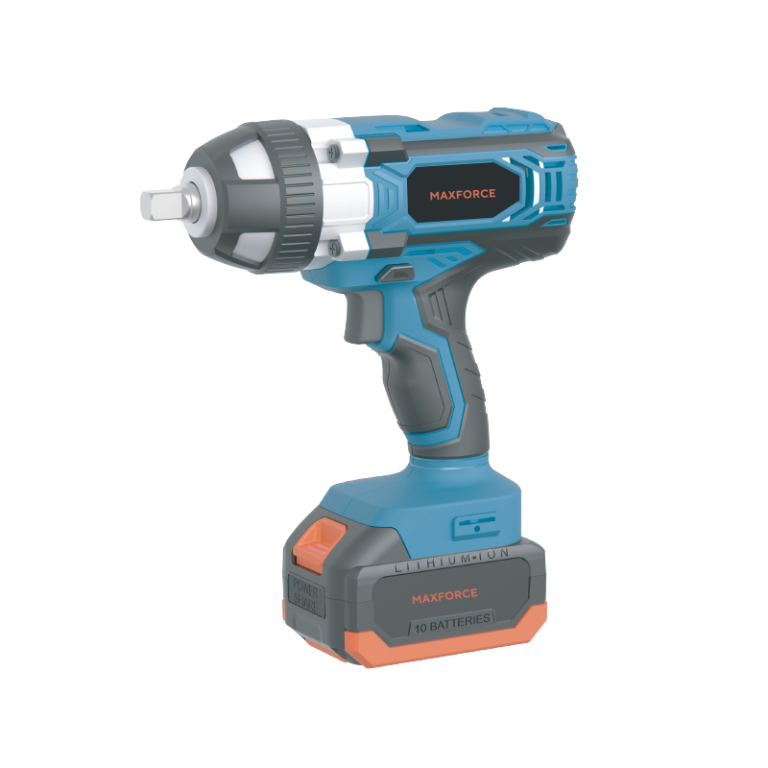
How to Properly Set the Torque on an Impact Wrench
Setting the torque on an impact wrench is easy and important to ensure you get the job done right! Here’s how to do it:
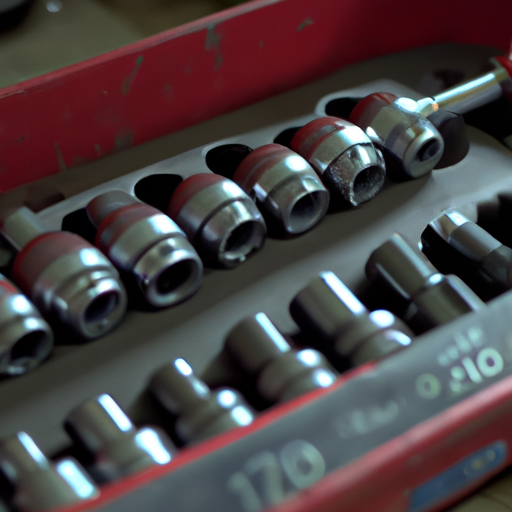
1. Start by setting the torque wrench to the desired torque setting. Make sure to read the instructions on the wrench to ensure you are setting it correctly.
2. Once the torque wrench is set, attach it to the impact wrench.
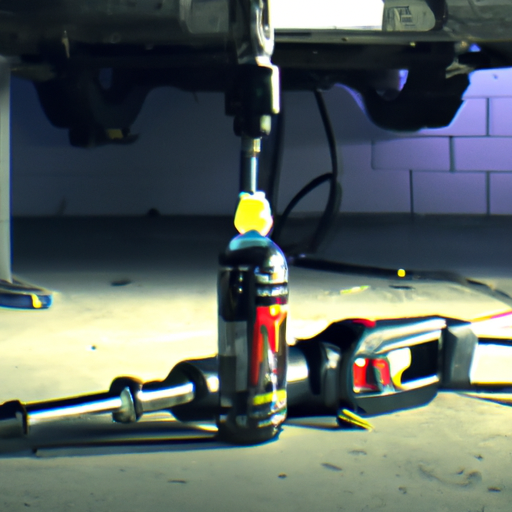
3. Now, turn the impact wrench on and slowly increase the speed until the desired torque is reached.
4. Once the desired torque is reached, turn off the impact wrench and remove the torque wrench.
That’s it! You’ve now successfully set the torque on your impact wrench. Now you can get to work and get the job done right!
The Benefits of Adjusting the Torque on an Impact Wrench
Adjusting the torque on an impact wrench can be a great way to get the most out of your tool. With the right settings, you can ensure that you’re using the right amount of force for the job at hand. Here are some of the benefits of adjusting the torque on an impact wrench:
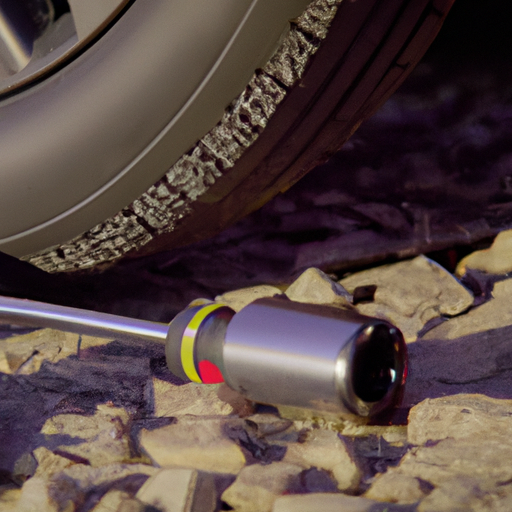
1. Improved accuracy: By adjusting the torque, you can ensure that you’re applying the right amount of force for the job. This can help you avoid over-tightening or under-tightening bolts and nuts, which can lead to damage or even injury.
2. Increased efficiency: With the right torque settings, you can get the job done faster. This can save you time and energy, allowing you to move on to the next task.
3. Reduced wear and tear: By using the right torque settings, you can reduce the wear and tear on your impact wrench. This can help extend the life of your tool and save you money in the long run.
Adjusting the torque on an impact wrench can be a great way to get the most out of your tool. With the right settings, you can ensure that you’re using the right amount of force for the job at hand, improving accuracy, increasing efficiency, and reducing wear and tear.